Activation |
|
|
After installing SE Suite, some configuration activities will be required for SE Suite to be suitable for use, such as the system configuration, access license, system activation, and e-mail configurations. Some of these activities are described in the documentation of the SE Configuration component. See below how to execute these activities:
1.When accessing SE Suite for the first time, screen will be displayed. Use it to configure, at least, the name of the organization that acquired the system and the access password of the admin user. Refer to the documentation of the SE Configuration component, in the "Configuration
2.Once the admin user is configured, enter the activation key. Refer to the documentation of the SE Configuration component, in the "Configuration
Manual SE Suite activation
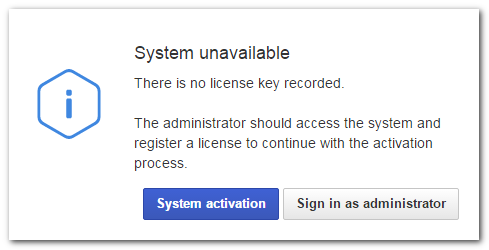
1.If the automatic activation is not enabled, whenever there is any change in the system configurations, it will be necessary to activate SE Suite manually. When that happens, the following screen will be displayed:
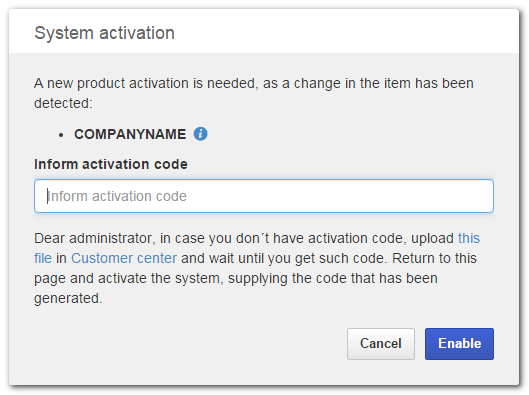
2.To activate the system, click on the System activation button. The system will display a screen with a brief description of the changes made:
3.Carefully follow the instructions on the system activation screen. Download the file (activation.hbl) and access the Customer center. Enter your login and password. At this point, you will be redirected to the activation page.
4.On the customer center activation page, Upload the file. After selecting the activation.hbl file in the respective field, click on the UPLOAD button.
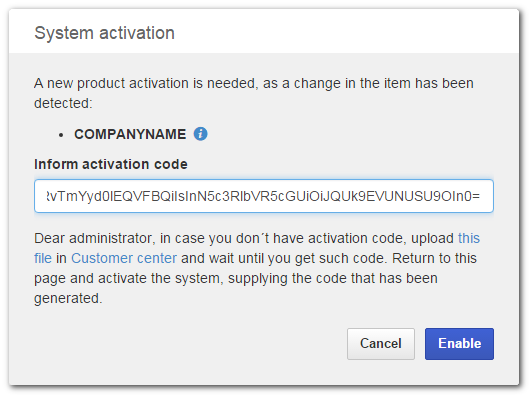
5.At this point, the system will display the screen with the activation code. Copy the generated code, return to the SE Suite screen, and enter the activation code.
6.After that, click on the Enable button. The SE Suite page will be reloaded and now any already created user may access the system.
Configure the e-mail serverRefer to the documentation of the SE Configuration component, in the "Configuration
Enable e-mail sendingTo enable sending notifications via e-mail, it is necessary for the "Enable sending system e-mails" option to be checked in the "Configuration |