FileManager server |
|
|
This section contains the steps for the installation and configuration of the FileManager server to be used to redirect the SE Capture server.
FileManager installation in a server different from that of SoftExpert Suite
The installer must be requested from SoftExpert support or copied from the "Plugins" folder in the SoftExpert Suite server.
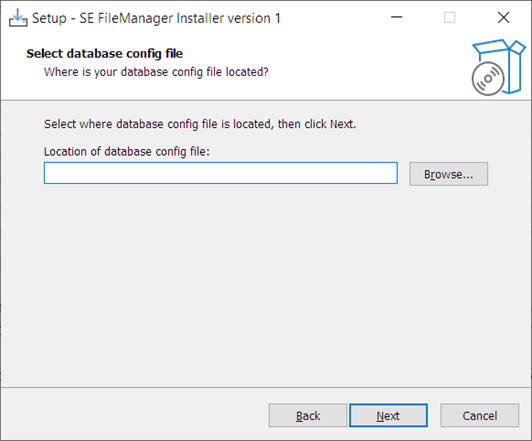
1.When executing the installer, the user will be requested to select the database_config.xml file in the environment.
2.This file must be copied from the /usr/local/se/conf folder in the SoftExpert Suite server.
3.Select it and continue with the installation until it is finished:
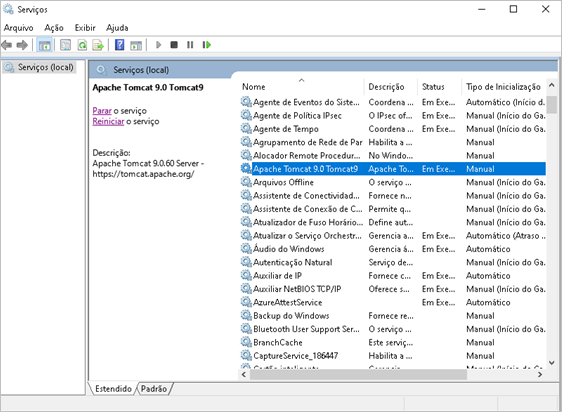
4.After finishing the installation, it is necessary to restart the Apache Tomcat service:
FileManager installation in the same server as that of SoftExpert Suite
To install FileManager in the same server as that of SoftExpert Suite, the following procedures must be executed:
1.Install .NET Runtime 5.0.X, mentioned above.
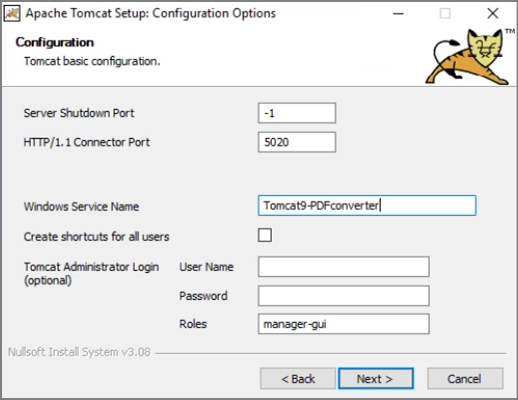
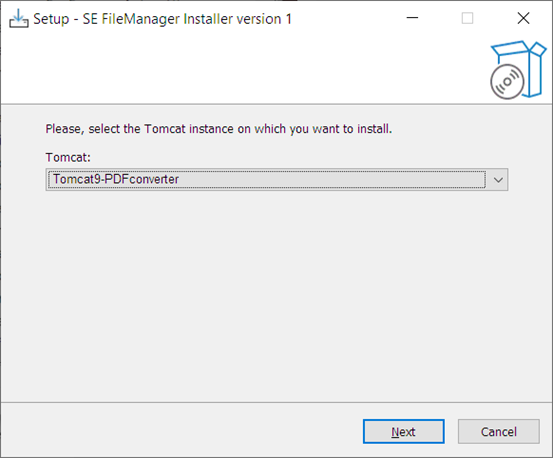
2.Install Tomcat in a port different from the one that is running the SoftExpert Suite platform; using port 5020 is suggested. During the installation, a different name must be entered for the Tomcat service; the name Tomcat9-PDFConverter is suggested.
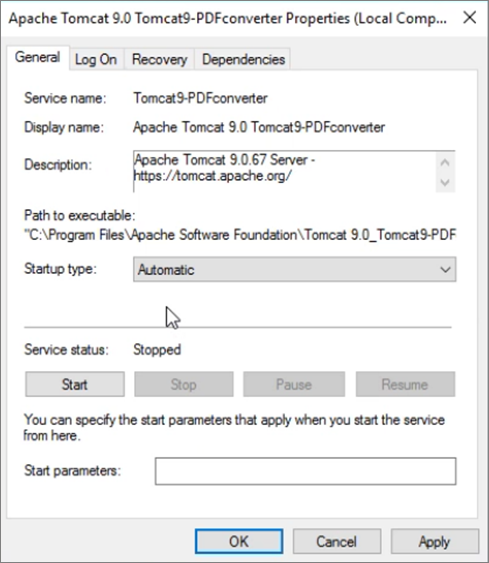
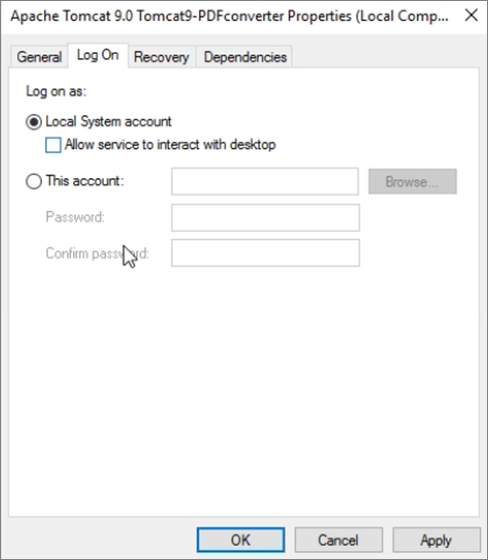
3.After installing Apache Tomcat, edit some information relating to the service, such as automatic startup and startup user, as shown in the images below:
4.Then, run the FileManagerInstaller.exe application (the file can be found in the System/plugins folder of SoftExpert Suite) and enter the Tomcat installed for the PDF conversion service.
5.After doing that, paste the database_config.xml file from the conf folder of SoftExpert Suite to a folder in the local machine and enter the installer path:
6.After this step, the option of restarting Tomcat when the installation finishes can be selected; click on Next and then on Install.
7.After doing that, access the SoftExpert Document component
8.Then, run the connection test and save.
9.After finishing the whole configuration, run a conversion test for .doc, .docx, .xls and xlsx files.
Configuring the system redirection
1.Access SoftExpert Document
2.Check the Enable SE Capture service redirection option.
3.In the Server field, enter the full application address. For example: http://<IP IN WHICH THE APPLICATION IS BEING EXECUTED>
4.In the Port field, enter the port in which the Tomcat service is being executed.
5.Then, test the entered values through the Save button next to the Port field.
6.By clicking on the button, the "Successful connection" message will be displayed.
7.Save the changes through the Save button in the general parameters, thus finishing the service installation and configuration. |