Database configuration |
|
|
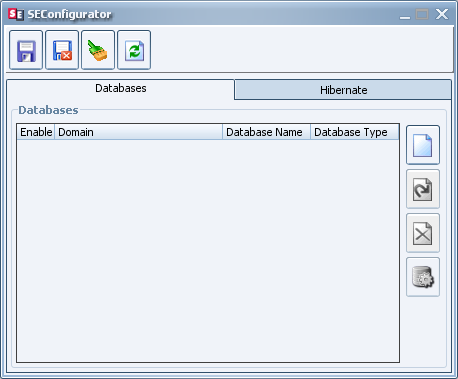
SE Configurator is a tool responsible for configuring connections to the database and associating it with a domain (to be used by multiple databases). To configure the system, go to the SE Configurator (<sesuite_directory>/tools/configurator) folder and execute the run.bat file; at this point, the SE Configurator screen will be displayed.
New database configurationSee how to configure a new database for SoftExpert Suite:
1.On the SE Configurator screen, access the Databases tab. Through this tab it is possible to add, update, delete, and verify whether the databases were updated correctly:
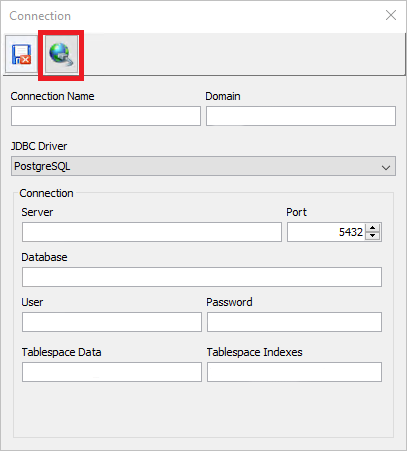
2.
▪Connection name: Enter a connection name. ▪Domain: Enter the domain that will be used to access the system. It must point to the domain where SoftExpert Suite is installed. ▪JDBC Driver: Clicking on the combobox will show all the database options SE Configurator supports: Oracle, PostgreSQL and SQL Server. When you select one of the options, the screen is updated according to the selected database and the Port field is filled with the default value of the database port. Fill in the other fields with the data of the selected database.
3.Aiming to strengthen SoftExpert Suite security and the information contained in it, the Allowed Hosts Database screen was made available to allow configuring the accepted domains to access SoftExpert Suite and protect it from Host Header Attack. To limit the domains accepted to access SoftExpert Suite, next to the "Save" button, the AllowedHosts button can be found to add the domains with permission to access the application:
4.By clicking on the AllowedHosts button, the Allowed Hosts Database registration screen will be opened for the user to enter the desired domain in the field and press the Add button; if there are other desired domains, the records must be added separately. To delete one of the registered domains, simply select it in the listing, click on the Delete button and confirm the deletion.
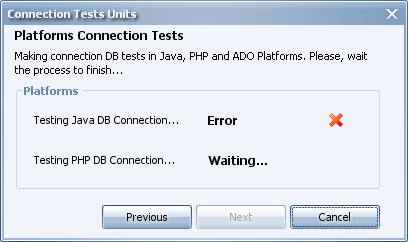
5.After filling them out, click on the
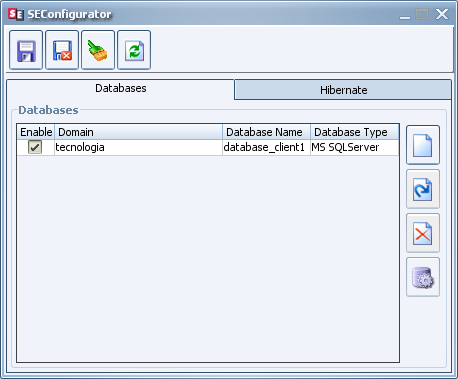
6.If no errors occur at the end of the SE Configurator testing, the Next button will be enabled, allowing you to finish creating the connection to the database. 7.At this point, the system will create, parameterize, and equalize the database. SE Configurator will display a message; when this process is finished, click on OK. After that, click on Next. 8.SE Configurator will display the data of the configured database. Click on Finish. After the process finishes, the created database will be displayed.
9. Click on
Database equalization/parameterizationSee below how to configure an existing database. This procedure should be performed in a previously configured base.
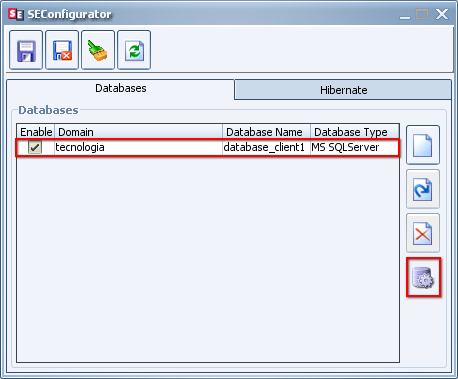
1.On the SE Configurator screen, access the Databases tab, select the database that will be equalized and click on the "Check database" button:
2.At this point, the equalization process will start. In the message window, click on OK.
3.When the equalization process is complete, click on Next and then, click on OK.
4.To finish, click on
Database deletionSee below the procedures to delete the database configuration:
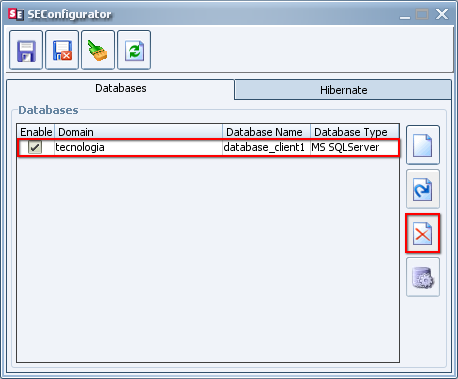
1.On the SE Configurator screen, access the Databases tab. Select the database you wish to delete and then click on the "Delete" button:
2.Click on Yes to confirm removal of the database.
3.At this point, the deletion process will start. When finished, click on Next.
4.To finish, click on |