Shared disk configuration |
|
|
To configure a shared disk, follow the steps below. Remember the folder must be shared to the network.
1.Run this command to configure the credentials you will use to access the shared folder. Remember to enter the environment domain:
2.Run this command to create the shared folder on the new disk of your choice. In which \sharedfolder\local is the folder that will be shared, and G: is the new disk in which it will be assembled.
3.Make sure SoftExpert Suite is stopped for the next steps:
Or, if the installation is using another disk, such as D:
4.If the new controlled directory is not displayed in the network directories, it will be necessary to restart the system to display it.
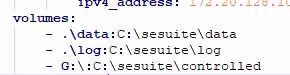
5.Edit the docker-compose.yml file, moving the new created disk to the C:\sesuite\controlled folder in volumes:
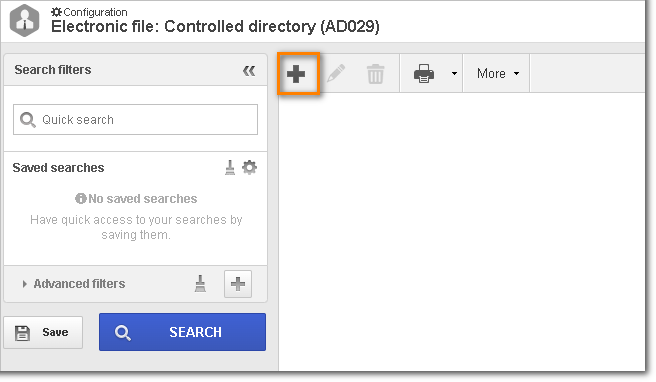
6.Then, access SoftExpert Administration, go to Configuration
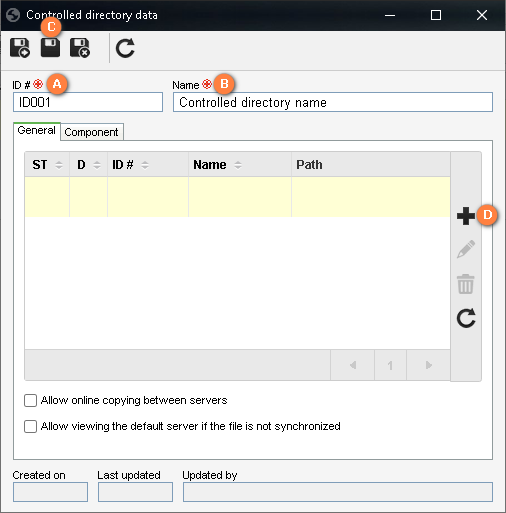
7.Enter the ID # and the name of the controlled directory and click on Save. 8.Then, on the General tab, select Add.
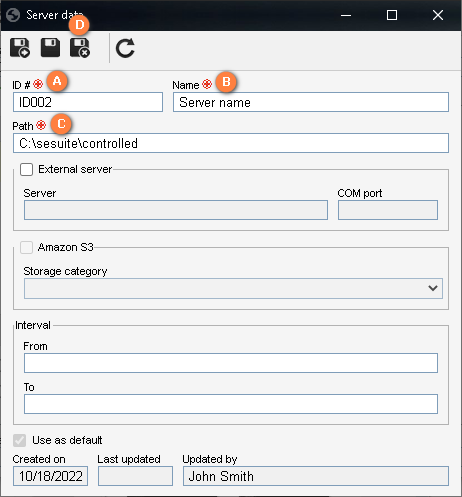
8.Enter a new ID # and a new name. In Path, enter the path that was placed in the docker-compose.yml file. For example:
9.Then, save the data and close the open screens. 10.Then, access SoftExpert Configuration and go to System (CM006). 11.On the File storage tab, check the Use controlled directory options that are displayed and select the previously created directory. |