Executing the provisioning |
|
|
1.In the enterprise application, on the left side menu, click on Provisioning and on Start provisioning.
2.For the Azure Active Directory users to be provisioned, it is necessary for them to be linked to the enterprise application. In this case, to link users to the application, access the Users and groups side menu and click on Add user/group.
3.Click on Users, filter and select the users you wish to link and click on Select.
4.After selecting the users, click on Assign to assign the selected users. Users linked to the enterprise application can be viewed in the "Users and groups" menu.
5.After linking the users to the enterprise application, they will automatically be provisioned by Azure. To view the provisioning status, access the Provisioning menu; in the provisioning screen, it will be possible to view the provisioning status and access the detailed provisioning log.
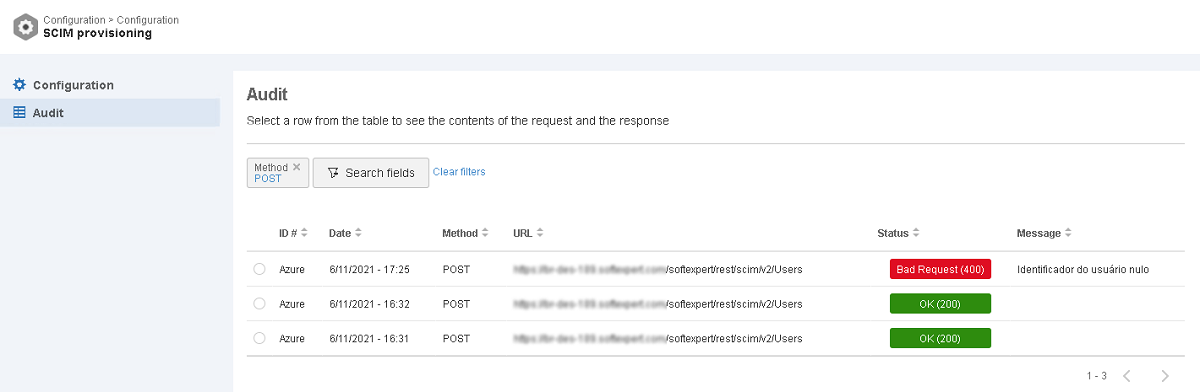
6.In SE Suite, it is possible to view the provisioned users in SE Configuration
|