XLS file structure definition |
|
|
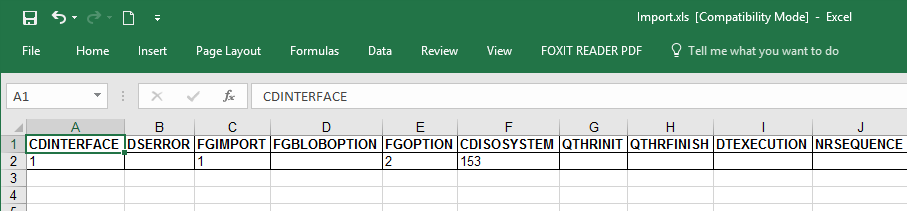
The DIINTERFACE table can also be fed through an XLS or XLSX file. To use this feature you need a file with an XLS or XLSX extension whose header (first line) contains all the fields in the DIINTERFACE table. Example of the file in the following figure:
Import and export featuresPlease follow the possible resources to be selected within the import function:
Download spreadsheet templateInstead of filling all columns of the DIINTERFACE table manually, the system allows you to download a ready-made template with these already filled columns, only needing to add the necessary information in the body of each column used. To download the spreadsheet template, navigate to the tracking screen SoftExpert Configuration Within this screen, it is possible to use the
Import file to the systemThere are three different ways to import data to the system through the previously described spreadsheet template. These three approaches are described below:
Upload through the systemTo upload the file, navigate to the tracking screen (SoftExpert Configuration
|
Structure |
Example |
|---|---|
<seimport> |
seimport.xls |
<name> + <seimport> |
example.seimport.xls |
<seimport> + <name> |
seimport.example.xls |
<name> + <seimport> + <name> |
example.seimport.example.xls |
The desired file must also be inside the import directory: <SE_SUITE_HOME |
IMPORTANT! <SE_SUITE_HOME> indicates the directory in which SoftExpert Suite is contained. |
If you are using the multidatabase, the file name should contain the domain present in the database-config file, followed by the _seimport suffix. In the table below, there are examples for naming names using the "www.softexpert.com" domain as an example.
Structure |
Example |
|---|---|
<domain> + <seimport> |
www.softexpert.com_seimport.xls |
<domain> + <seimport> + <name> |
www.softexpert.com_seimport.example.xls |
<name> + <domain> + <seimport> |
example.www.softexpert.com_seimport.xls |
<name> + <domain> + <seimport> + <name> |
example.www.softexpert_seimport.example.xls |
For customers that use SoftExpert Hosting and that wish to use this method of uploading data to the DIINTERFACE table, we suggest contacting the SoftExpert Sales team to request details on our SFTP service. Once this service is acquired, it will be possible to use this mean to deposit load files in the DIINTERFACE table according to the template described above. |